


We'll be making a simple chat app which works like a youtube superchat, with ReactJS and Firebase in just 5 steps. So, let's jump right into it!
Note: I know the article seems really long but thats because I tried to explain each and every thing we will be doing throughout this tutorial
TOC:
- Step 1: Creating the project.
- Step 2: Installing necessary modules
- Step 3: Setting up firebase
- Step 4: Creating functions for the chat
- Step 5: Functions & Components
Step 1: Creating the project.
Use the following command to get started:
$ npx create-react-app chitchat
Now, I used the name chitchat for my project but, you can use any name you like.
Step 2: Installing necessary modules
We'll be using the following modules in our project:
- firebase -> allows us to use firebase in our project
- react-firebase-hooks -> allows us to get data from our database in real time
- tailwindcss [Optional] -> for styling our chat app
To install them, we need to first cd into our newly created project and then use the following command:
$ npm install firebase react-firebase-hooks
Optionally, install tailwindcss:
$ npm install tailwindcss
Step 3: Setting up firebase
Our project now is all set up! But, we need to have somewhere to store the chats. That's where firebase comes in! We can store the chats and host our chat app with firebase.
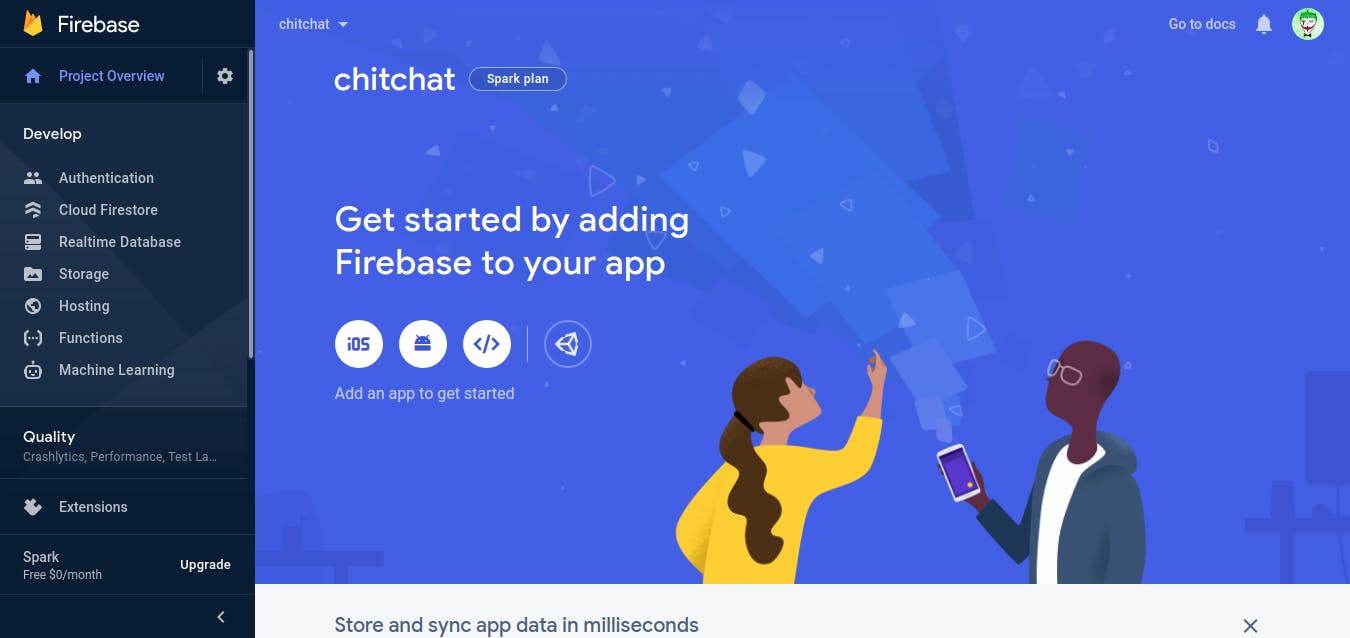
Let's start by creating a new project at Firebase Console
Add a name for your project and you can enable analytics if you wish. Your should now see a screen like this after your project is created:
Now, let's enable authentication to let users sign in with their google account. Click on the authentication tab on the sidebar and enable Google authentication.
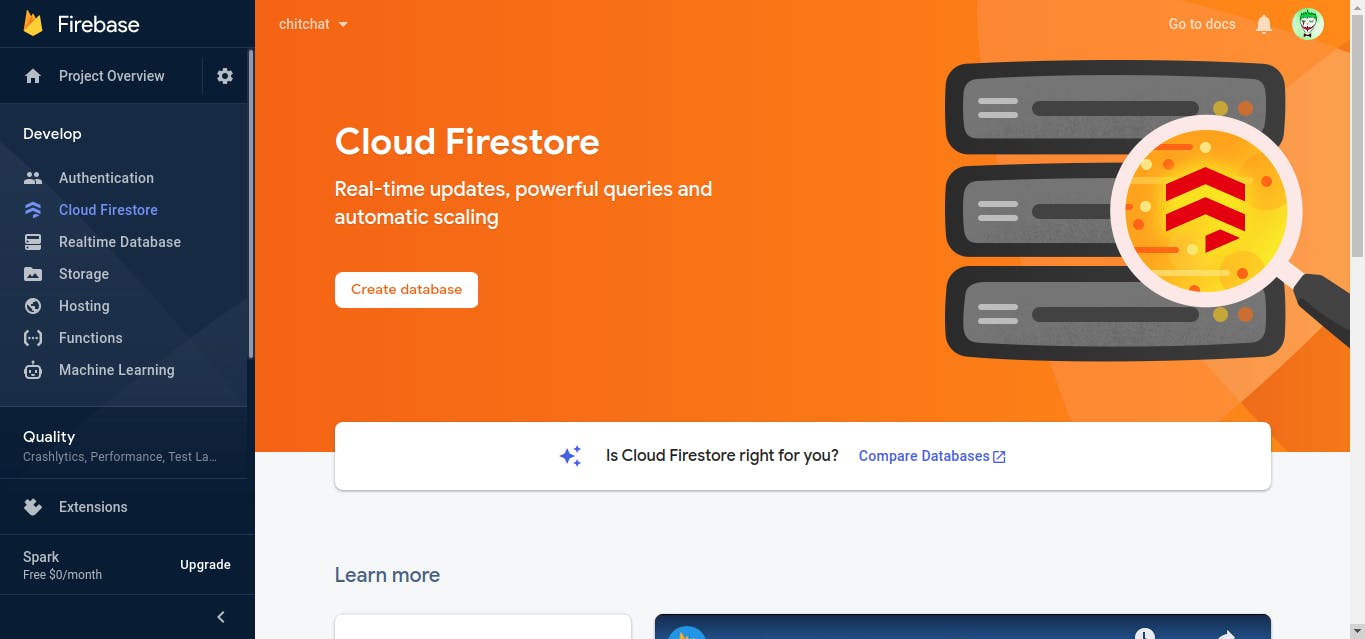
Once the auth is set up, we need to set up a database for our project. Click on the Cloud Firestore tab in the sidebar and create a database.
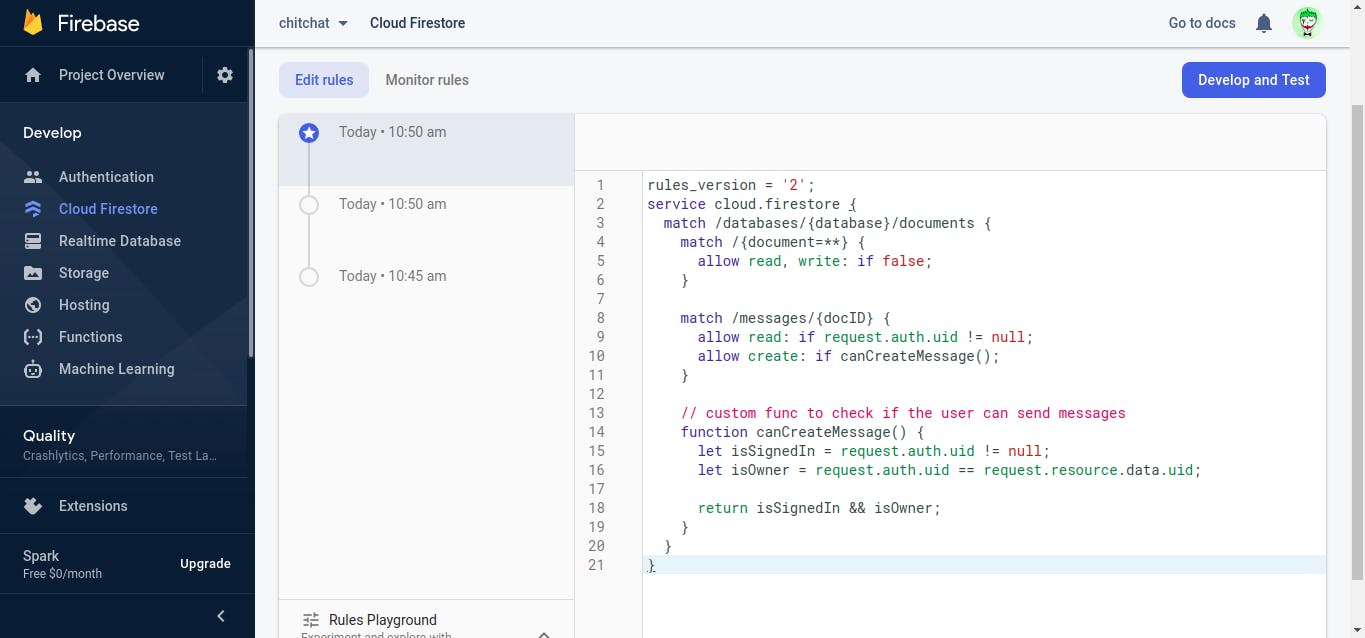
Next, we need to edit the database rules so that only logged in users can chat. In the rules tab paste the following code:
rules_version = '2';
service cloud.firestore {
  match /databases/{database}/documents {
    match /{document=**} {
      allow read, write: if false;
    }

    match /messages/{docID} {
        allow read: if request.auth.uid != null;
      allow create: if canCreateMessage();
    }

    // custom func to check if the user can send messages
    function canCreateMessage() {
        let isSignedIn = request.auth.uid != null;
      let isOwner = request.auth.uid == request.resource.data.uid;

      return isSignedIn && isOwner;
    }
  }
}
Now that our database is completely set up, we can work on the app interface now!
Step 4: Creating functions for the chat
We'll be working only with the App.js file, present in src directory of our project, so load that up in your favorite text editor.
We'll begin by importing all the necessary functions.
import React, { useEffect, useRef, useState } from 'react';

import firebase from 'firebase/app';
import 'firebase/firestore';
import 'firebase/auth';

import { useAuthState } from 'react-firebase-hooks/auth';
import { useCollectionData } from 'react-firebase-hooks/firestore';
Next, we need to add our firebase config which you can get from project settings by adding a web app as shown below:

Add the config values to App.js:
firebase.initializeApp({
  apiKey: "AIzaSyAmQZaUtO_0LZ3b6-7r5VIQhPHW2z1iqxk",
  authDomain: "chitchat-aa31b.firebaseapp.com",
  databaseURL: "https://chitchat-aa31b.firebaseio.com",
  projectId: "chitchat-aa31b",
  storageBucket: "chitchat-aa31b.appspot.com",
  messagingSenderId: "544785049624",
  appId: "1:544785049624:web:5900f7045eea337b573b6d"
})
Lastly, we'll define auth and firestore variable to use in our project:
const auth = firebase.auth();
const firestore = firebase.firestore();
Step 5: Functions & Components
We'll start with App():
function App() {
  // checks if user is authenticated i.e. logged in
  const [user] = useAuthState(auth);

  return (
    <div>
      <SignOut />
      <section>
        {/* Shows chatroom if user is logged in
        else show signin page */}
        {user ? <ChatRoom /> : <SignIn />}
      </section>
    </div>
  );
}
Then, we'll define a sign-in function for our chat app with google auth.
function SignIn() {
  const signInWithGoogle = () => {
    const provider = new firebase.auth.GoogleAuthProvider();
    auth.signInWithPopup(provider);
  }
  return (
    <div>
      <button onClick={signInWithGoogle}>Sign In With Google</button>
    </div>
  )
}
While we are at it, let's also include a sign-out function.
function SignOut() {
  return auth.currentUser && (
    <div>
      <button onClick={() => auth.signOut()}>Sign Out</button>
    </div>
  )
}
Now comes the main part of our chat app, the chat room where users can post messages.
function ChatRoom() {
  // we will use this to scroll to bottom of chat on page-reload and after sending a message
  const dummy = useRef();
  const scrollToBottom = () => {
    dummy.current.scrollIntoView({ behavior: 'smooth' });
  }

  // getting the message and sorting them by time of creation
  const messagesRef = firestore.collection('messages');
  const query = messagesRef.orderBy('createdAt', 'asc').limitToLast(25);

  const [messages] = useCollectionData(query, {idField: 'id'});

  return (
    <div>
      <div>
        {/* we will loop over the message and return a
        ChatMessage component for each message */}
        {messages && messages.map(msg => <ChatMessage key={msg.id} message={msg} />)}
        <span ref={dummy}></span>
      </div>

      {/* Form to type and submit messages */}
      <form onSubmit={sendMessage}>
        <input value={formValue} onChange={(e) => setFormValue(e.target.value)} placeholder="Say something" />
        <button type="submit" disabled={!formValue}>send</button>
      </form>
    </div>
  )
}
Let's define our sendMessage function now!
const sendMessage = async (e) => {
    e.preventDefault();
    // gets name, userID and pfp of logged in user
    const { displayName, uid, photoURL } = auth.currentUser;

    await messagesRef.add({
      user: displayName,
      body: formValue,
      createdAt: firebase.firestore.FieldValue.serverTimestamp(),
      uid: uid,
      photoURL: photoURL
    })

    // resetting form value and scrolling to bottom
    setFormValue('');
    dummy.current.scrollIntoView({ behavior: 'smooth' });
  }
Now, the last thing for us is to define the ChatMessage component that will display the Chat messages.
function ChatMessage(props) {
  const { user, body, uid, photoURL, createdAt } = props.message;

    return (
        <div>
            <img src={photoURL || 'https://i.imgur.com/rFbS5ms.png'} alt="{user}'s pfp" />
        </div>
        <div>
            <p>{user}</p>
            <p>{body}</p>
      </div>
  )
}
Aaaaaand with that, our chat app is officially done! All that's left is to add css-styling to your content. You can then deploy the app to firebase using the following command:
$ firebase init hosting && firebase deploy --only hosting
Checkout the chat app in action and here's the repo for the project: {% github volt9801/chitchat no-readme %}
If you made it this far, kudos to you! If you have any tips or suggestions, please leave them down in the comments.